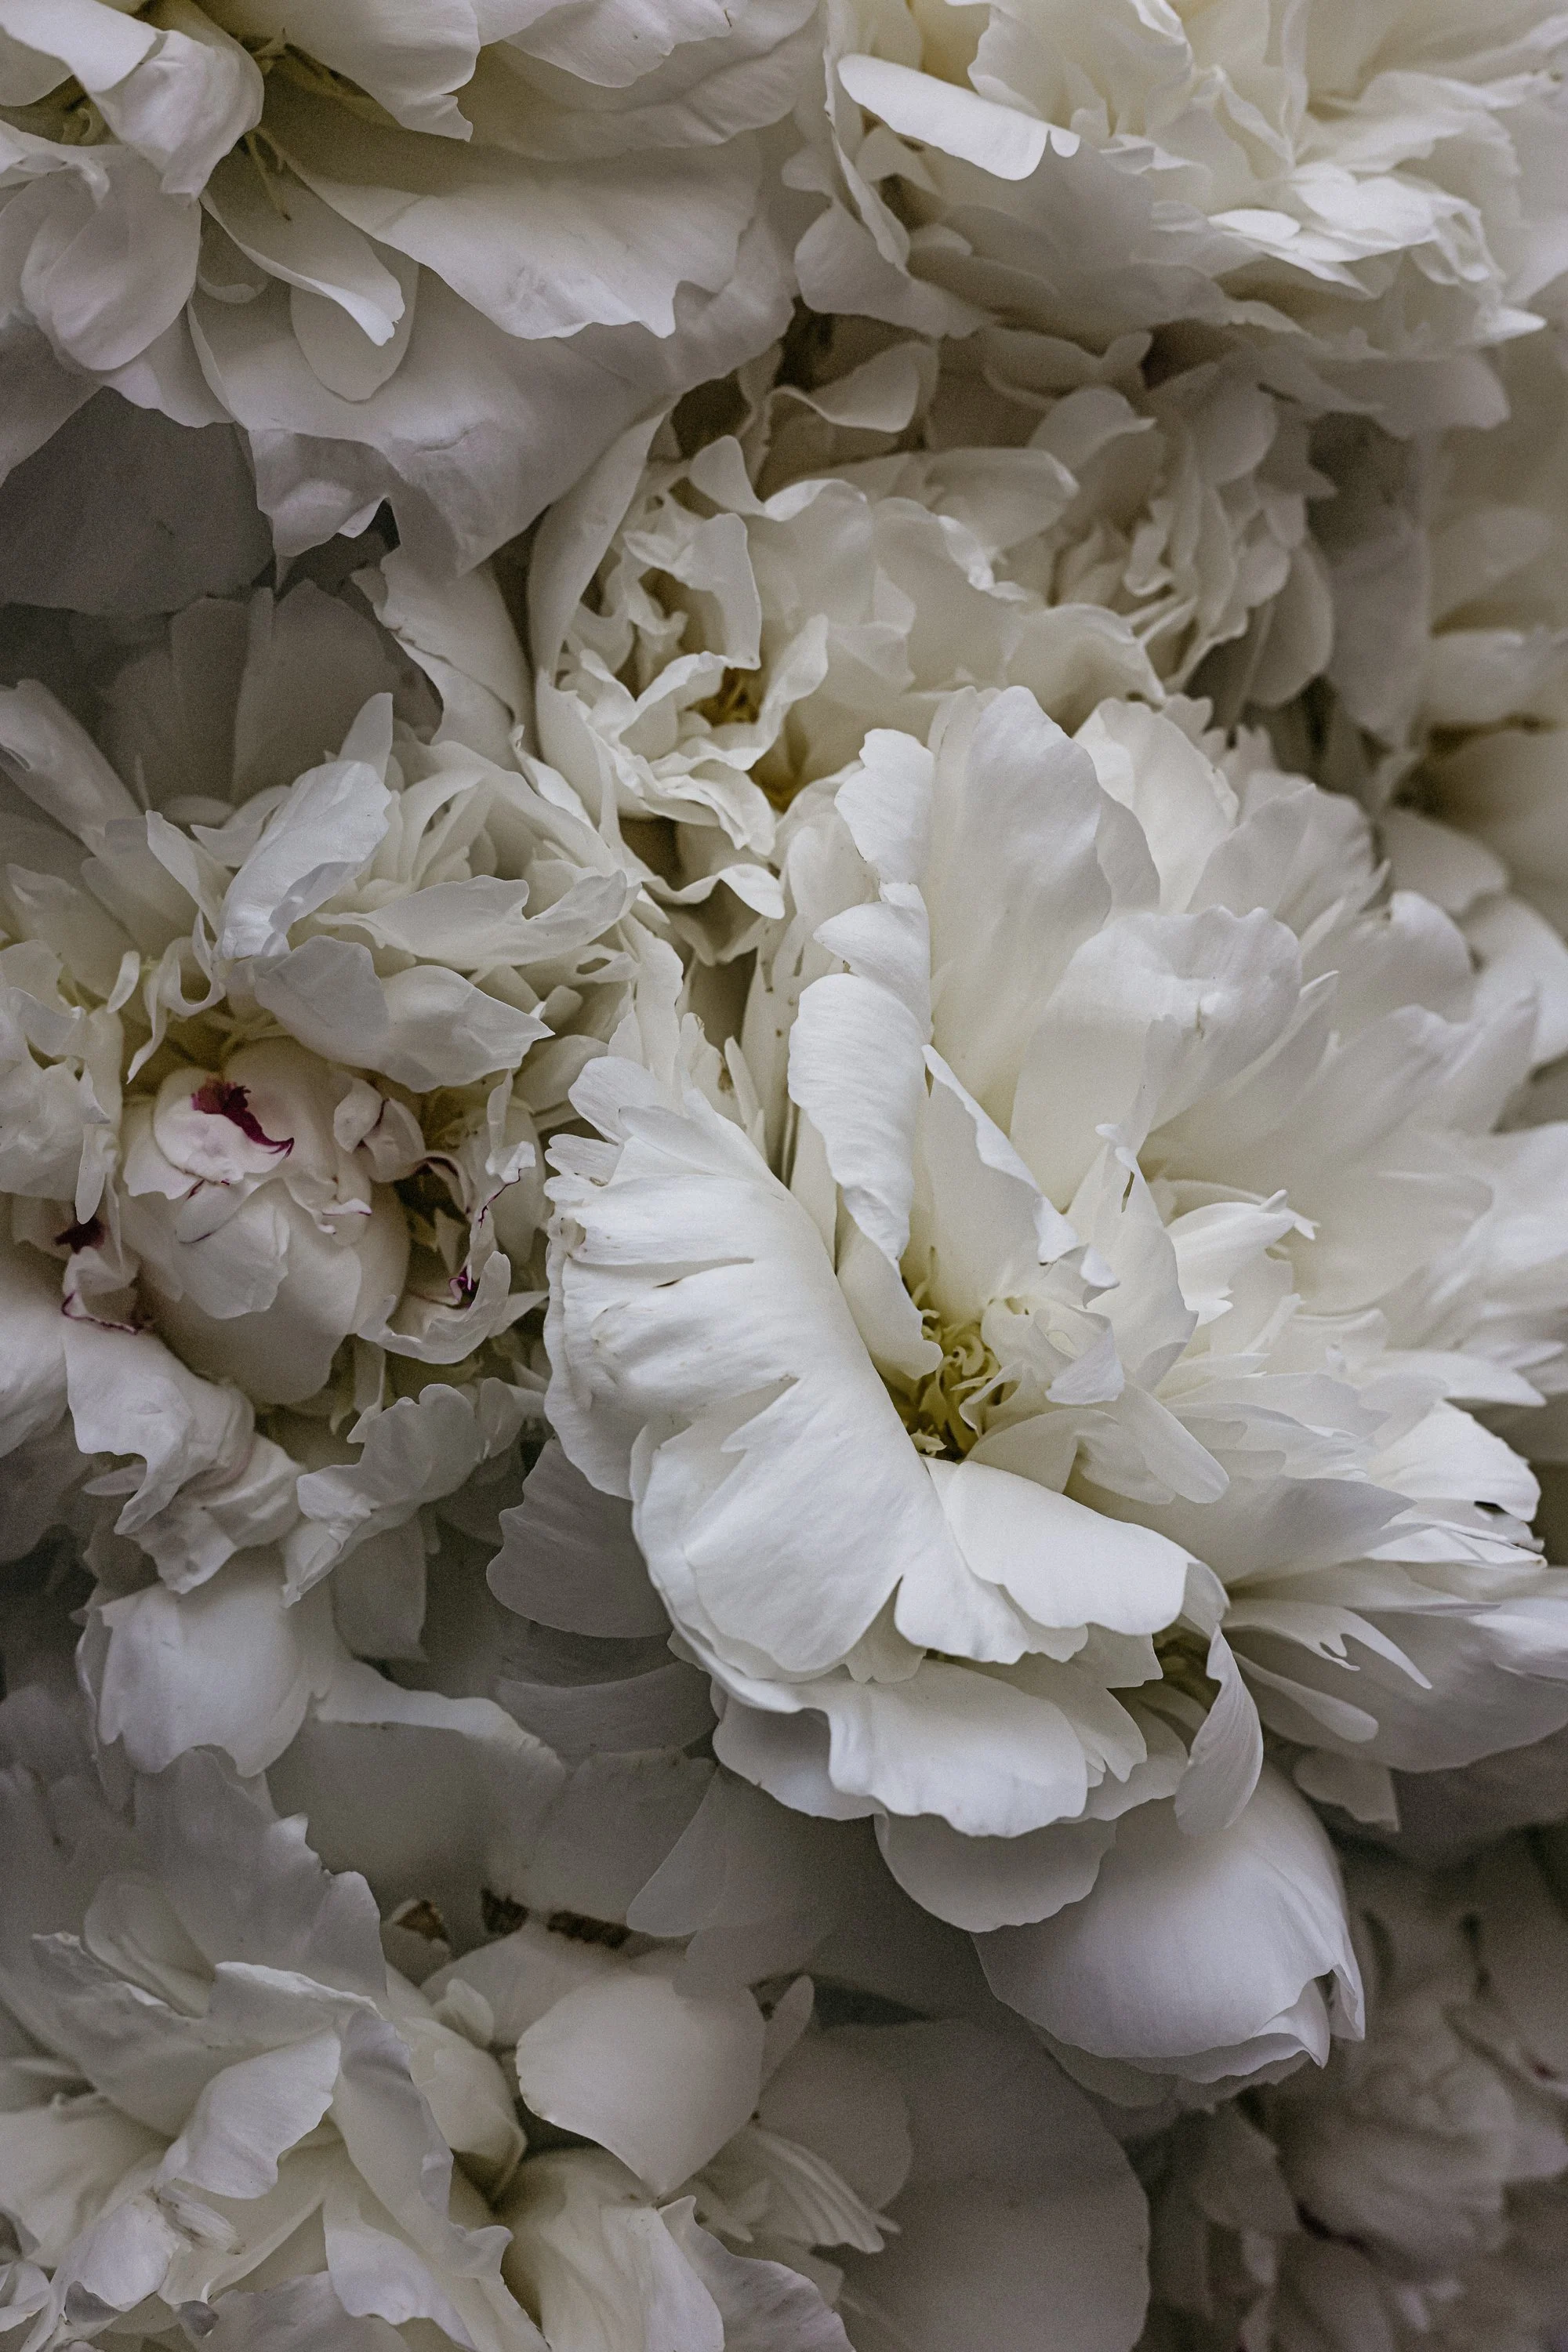
Start-to-Finish Artful Peony Edit
From so-so to so-beautiful.
Today…
an in-depth artful editing Lightroom tutorial.
In this video, I walk you through my peony photo transformation step-by-step, from presets to toning to selective color, added depth, masking, and so much more.
Use the fun before/after slider to reveal the complete transformation.
Let’s Dive In
As referenced in the video:
Save 50% off the Studio collection (limited-time offer)
Book a Summer Creative Reset Call
Do you need a reset to refocus on your creative journey or business goals?
Join me for a one-hour Creative Reset Zoom session uniquely designed to help you gain clarity and direction so you can keep moving forward.
Check out all the details HERE.
If you have any questions, please feel free to message me
Need a Little more Fill the Frame Studio Collection Inspiration?
Processed with Moody-ish from the Studio Collection.


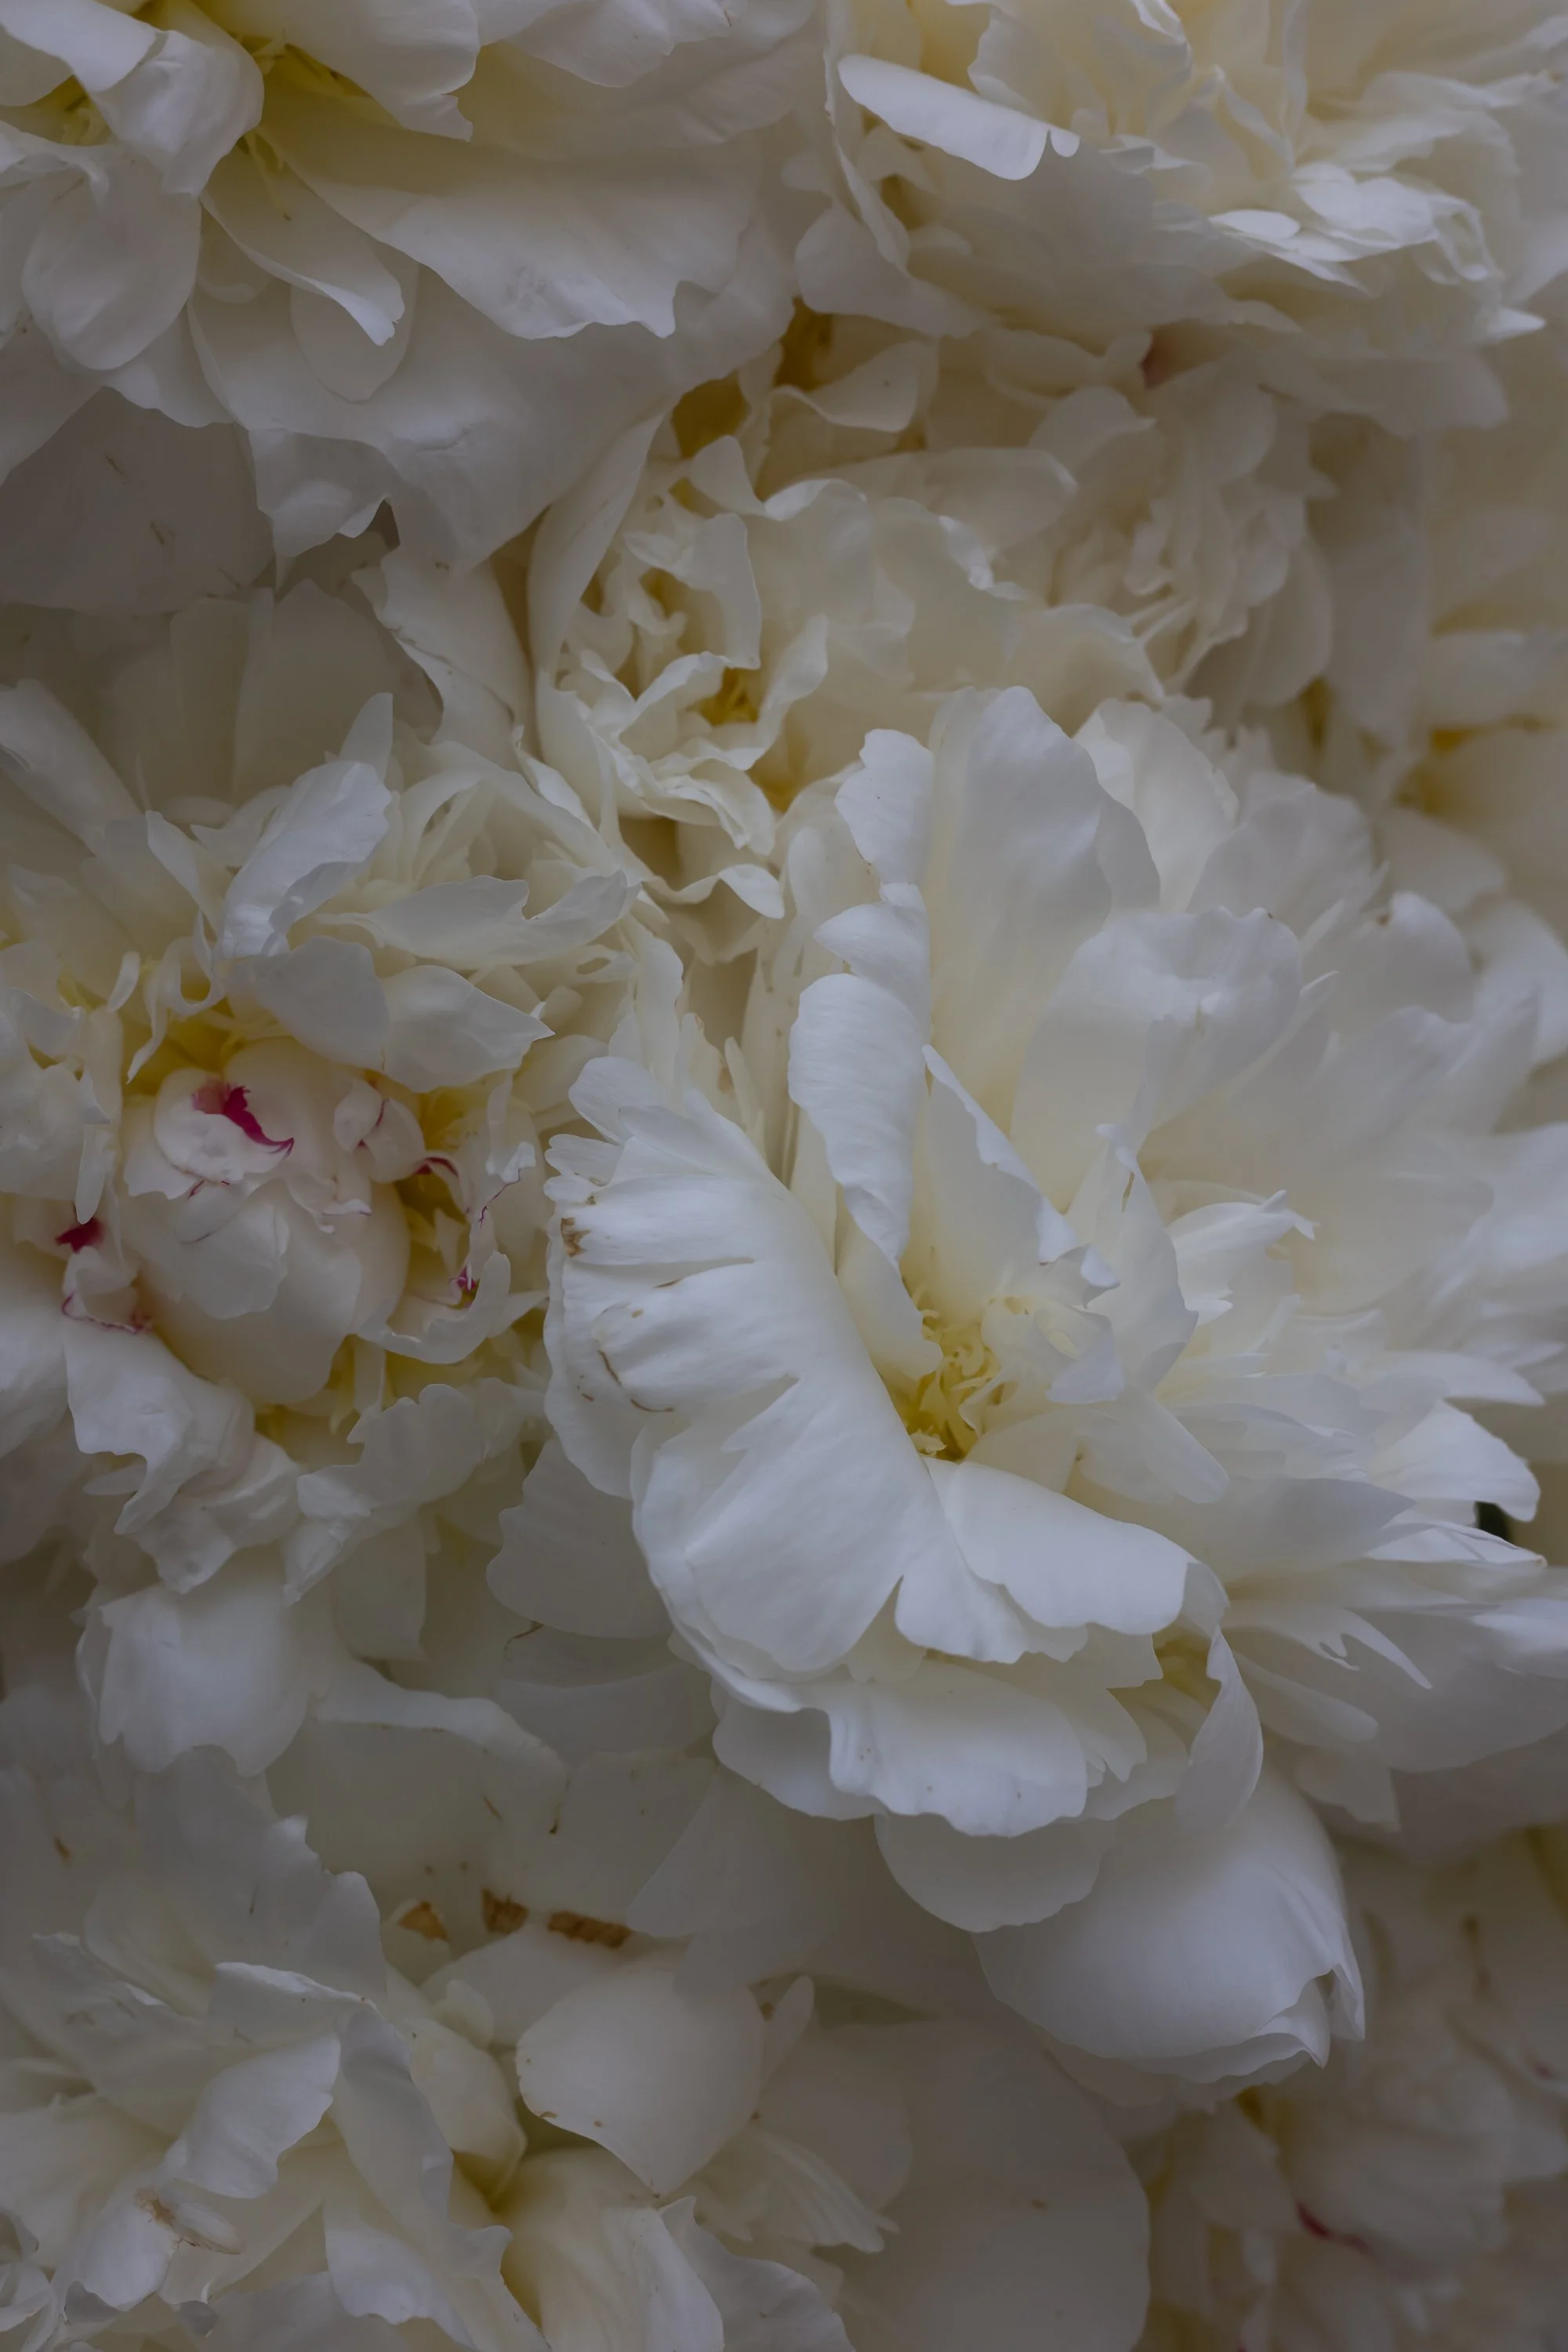
A quick backstory about this faded peony fill-the-frame photo.
It all started with this scene from a film I was making.

The next day, I went to ‘clean up’ and, as I lifted the pink peony, the petals broke off into the water.
So I gently placed the peony back into the basin and grabbed my camera. I love the water droplets.
The Details
Nikon z8, NIKKOR Z 50mm f/1.8 S Lens
ISO 125 | f/6.3 | 1/125
Moody-ish from the Studio Collection to bring it to life.
A little more Fill-the-Frame Inspo
Edited with DreamLike from the Complete Studio Collection.


Edited with Serendipitous from the Complete Studio Collection.

That’s a Wrap
Thanks so much for stopping by. Feel free to share your questions and thoughts (even hello) in the comments below.
I love knowing you were here.
With love & gratitude.
xx
Kim