Festive Crafty Holiday Project Roundup
a roundup of my favourite festive holiday diy projects
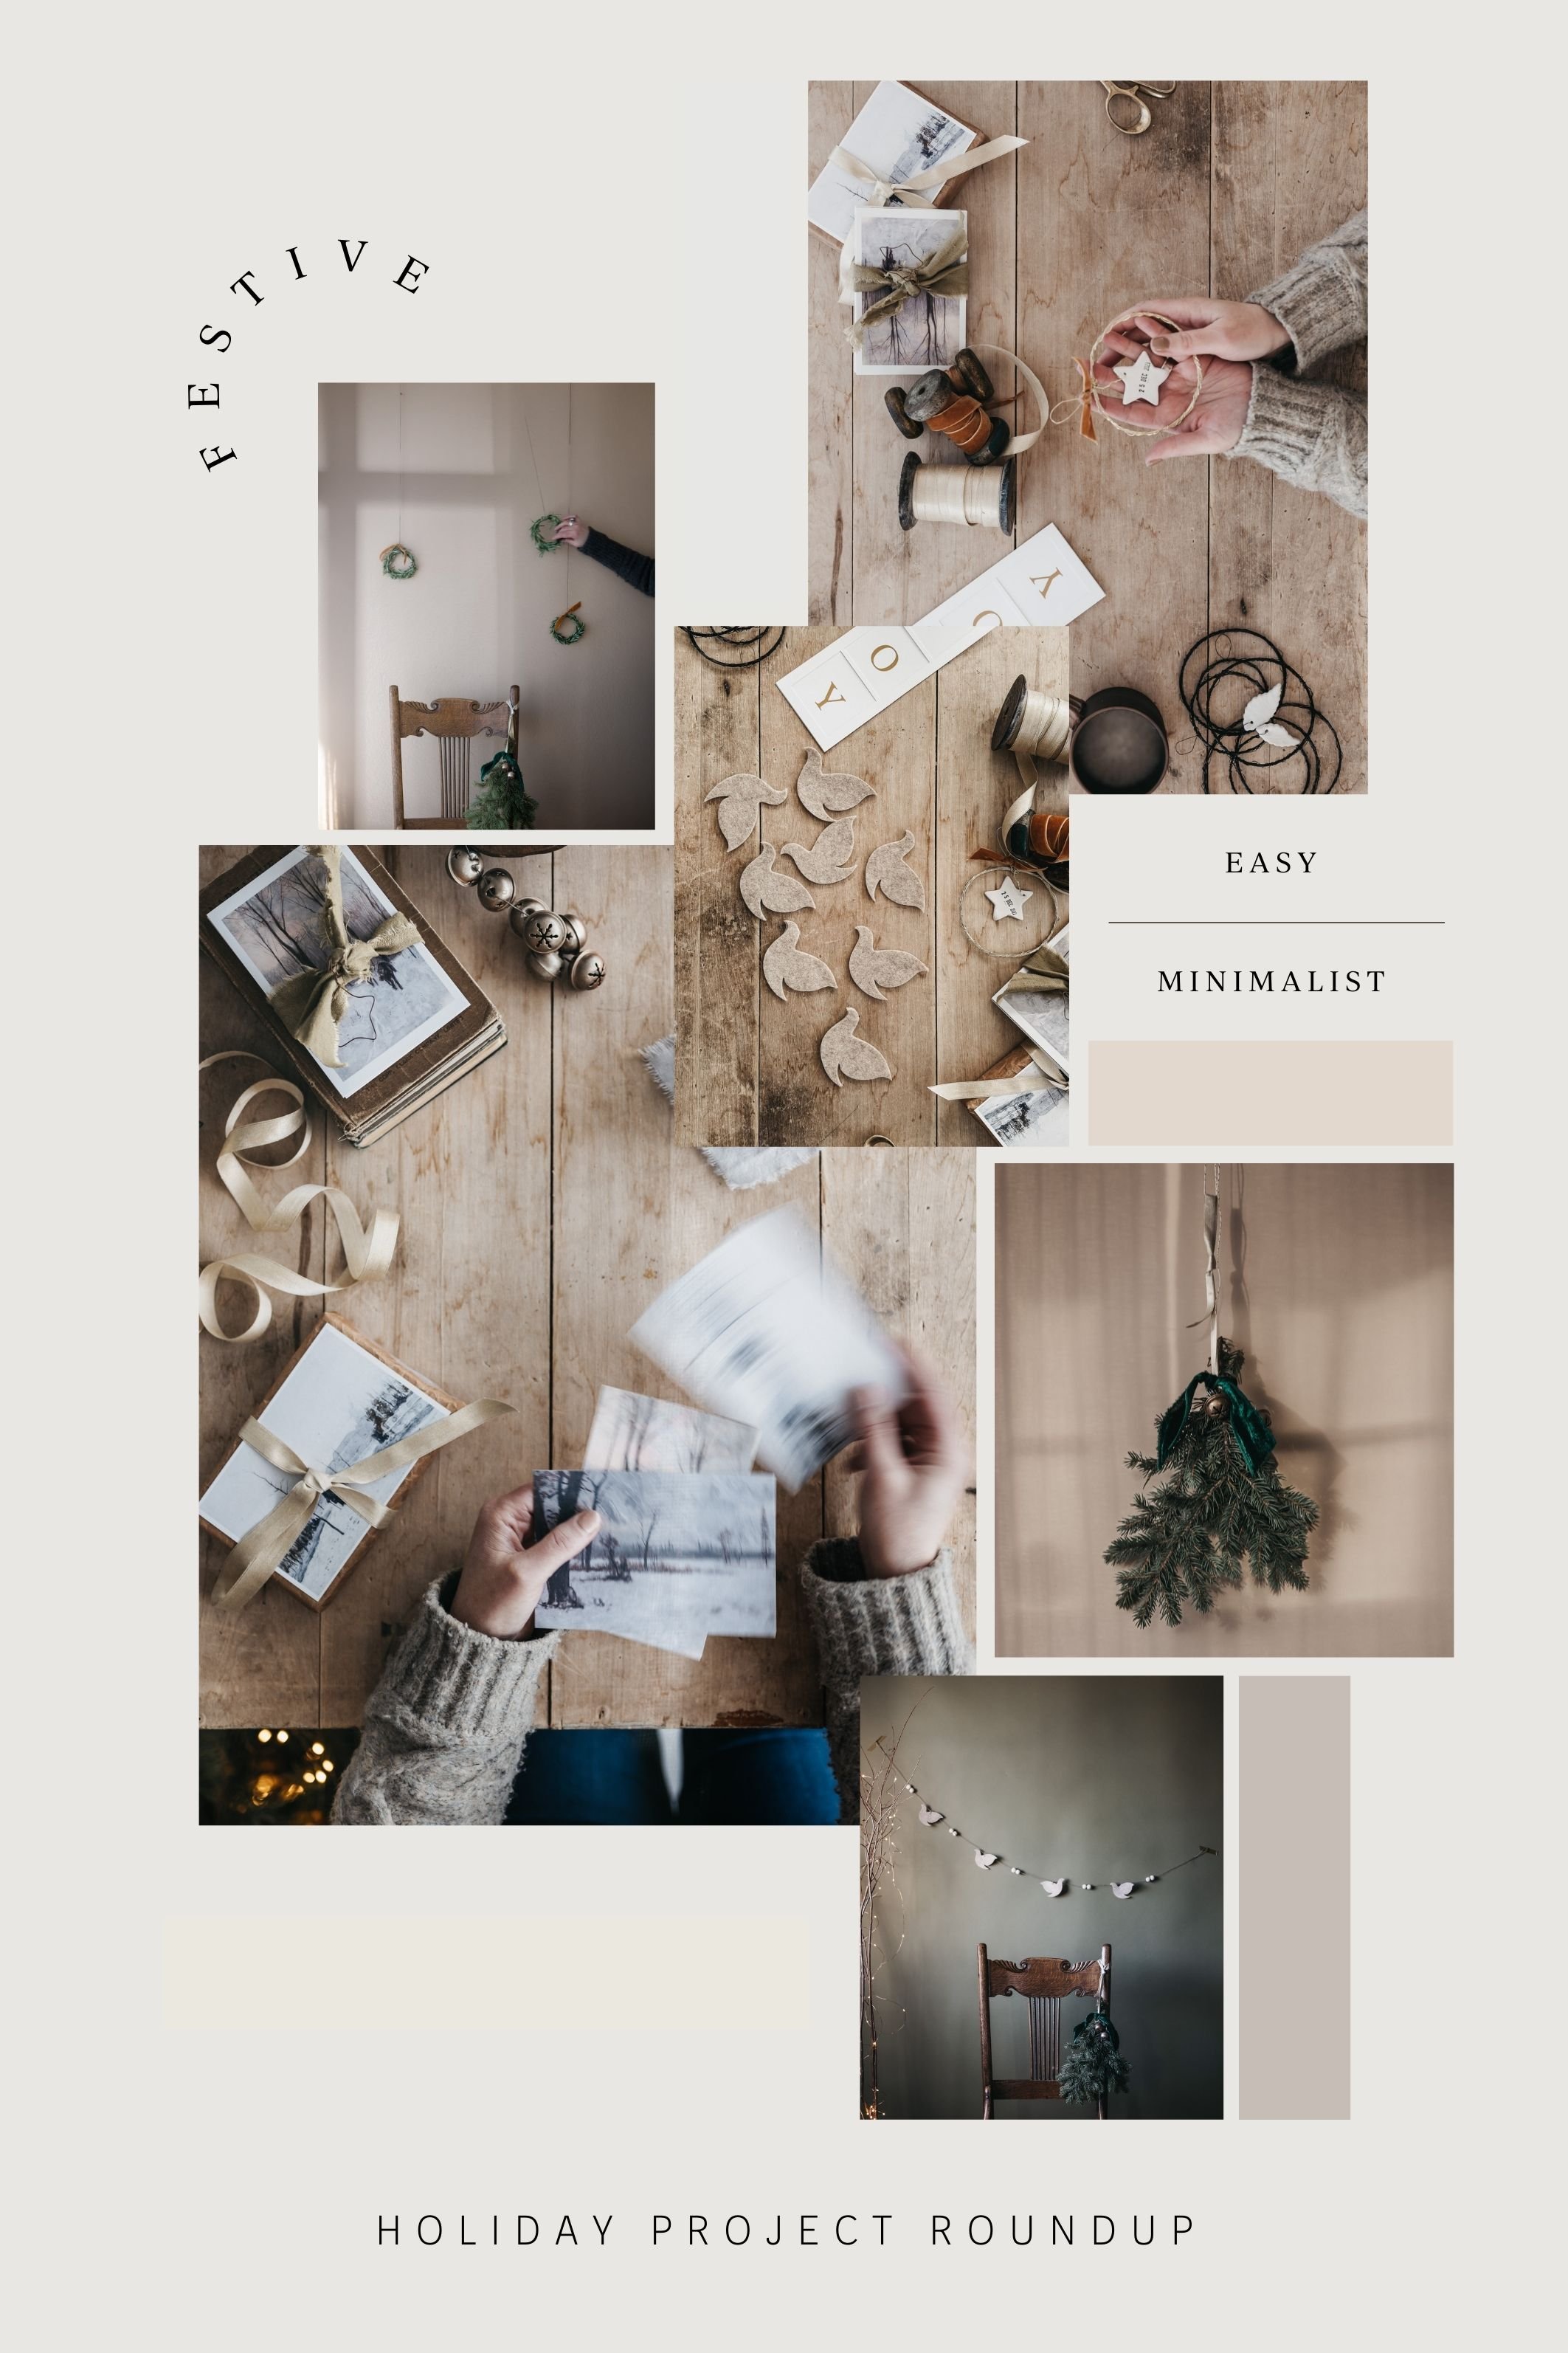
One: Tiny Rosemary Wreaths
I made tiny wreaths yesterday. The scent was bliss.
I found mine at Superstore in small clear packages.
The first pack I opened was quite woody, so I made a small wire wreath (like this) and wired the rosemary in small sections.
The second pack was nice and pliable, so I used this method. So quick, zip!
This is most definitely a project I’ll do again.
Two: DIY Mercury Ornaments
I made these gorgeous mercury glass ornaments (hanging on the wall with the wreaths and in the bowl) and glass candle holders (in the pics below) last year.
How to Make Faux Mercury Glass Ornaments
Supplies:
Ornaments (glass or plastic) or other vessels. I bought the lovely glass below at Dollarma. I love the detail.
This looking glass spray
Metallic spray paint of choice.
vinegar and water 1:1 mix in a spray bottle
hair dryer
Step 1:
Prepare a mixture of one part water and one part vinegar. Add this mixture to your spray bottle.
Step 2:
Remove the tops from your plastic ornaments.
Step 3:
Inside the ornaments, spray a small amount of the mirror effect spray paint.
Step 4:
While the paint is still wet and adhering to the plastic, spin the ornaments to ensure an even coating.
Step 5:
Spray a few spritzes of your vinegar solution inside the ornaments.
Step 6:
Pour out any excess water from the ornaments.
Step 7:
Repeat steps 3 through 6, but this time use the gold mirror effect spray paint.
Step 8:
Once the inside of the ornaments is thoroughly dry, spray a small amount of the bronze Universal spray paint inside.
Step 9:
Spin the ornaments again to coat and highlight the speckled areas, this will create an authentic mercury glass look.
Step 10:
Use the same bronze spray paint to paint the tops of the ornaments.
Step 11:
Allow everything to dry.
You now have beautiful, vintage-looking mercury glass ornaments.
Here’s a quick youtube tutorial.
This technique looks even quicker, and you don’t even need the special looking glass spray.
Three: Making Wire Wreaths
Last year I found this wonderful wire at Dollarama. It’s so easy to work with.
So, I made a multitude of black wire wreaths.
This year I decided to try a few with gold florist wire. I’m quite loving it too.
Next, I think I’ll use some rub ‘n buff on both and see how that looks.
I used air-dry clay cutouts for the little accents and my favorite date stamp for a little extra touch.
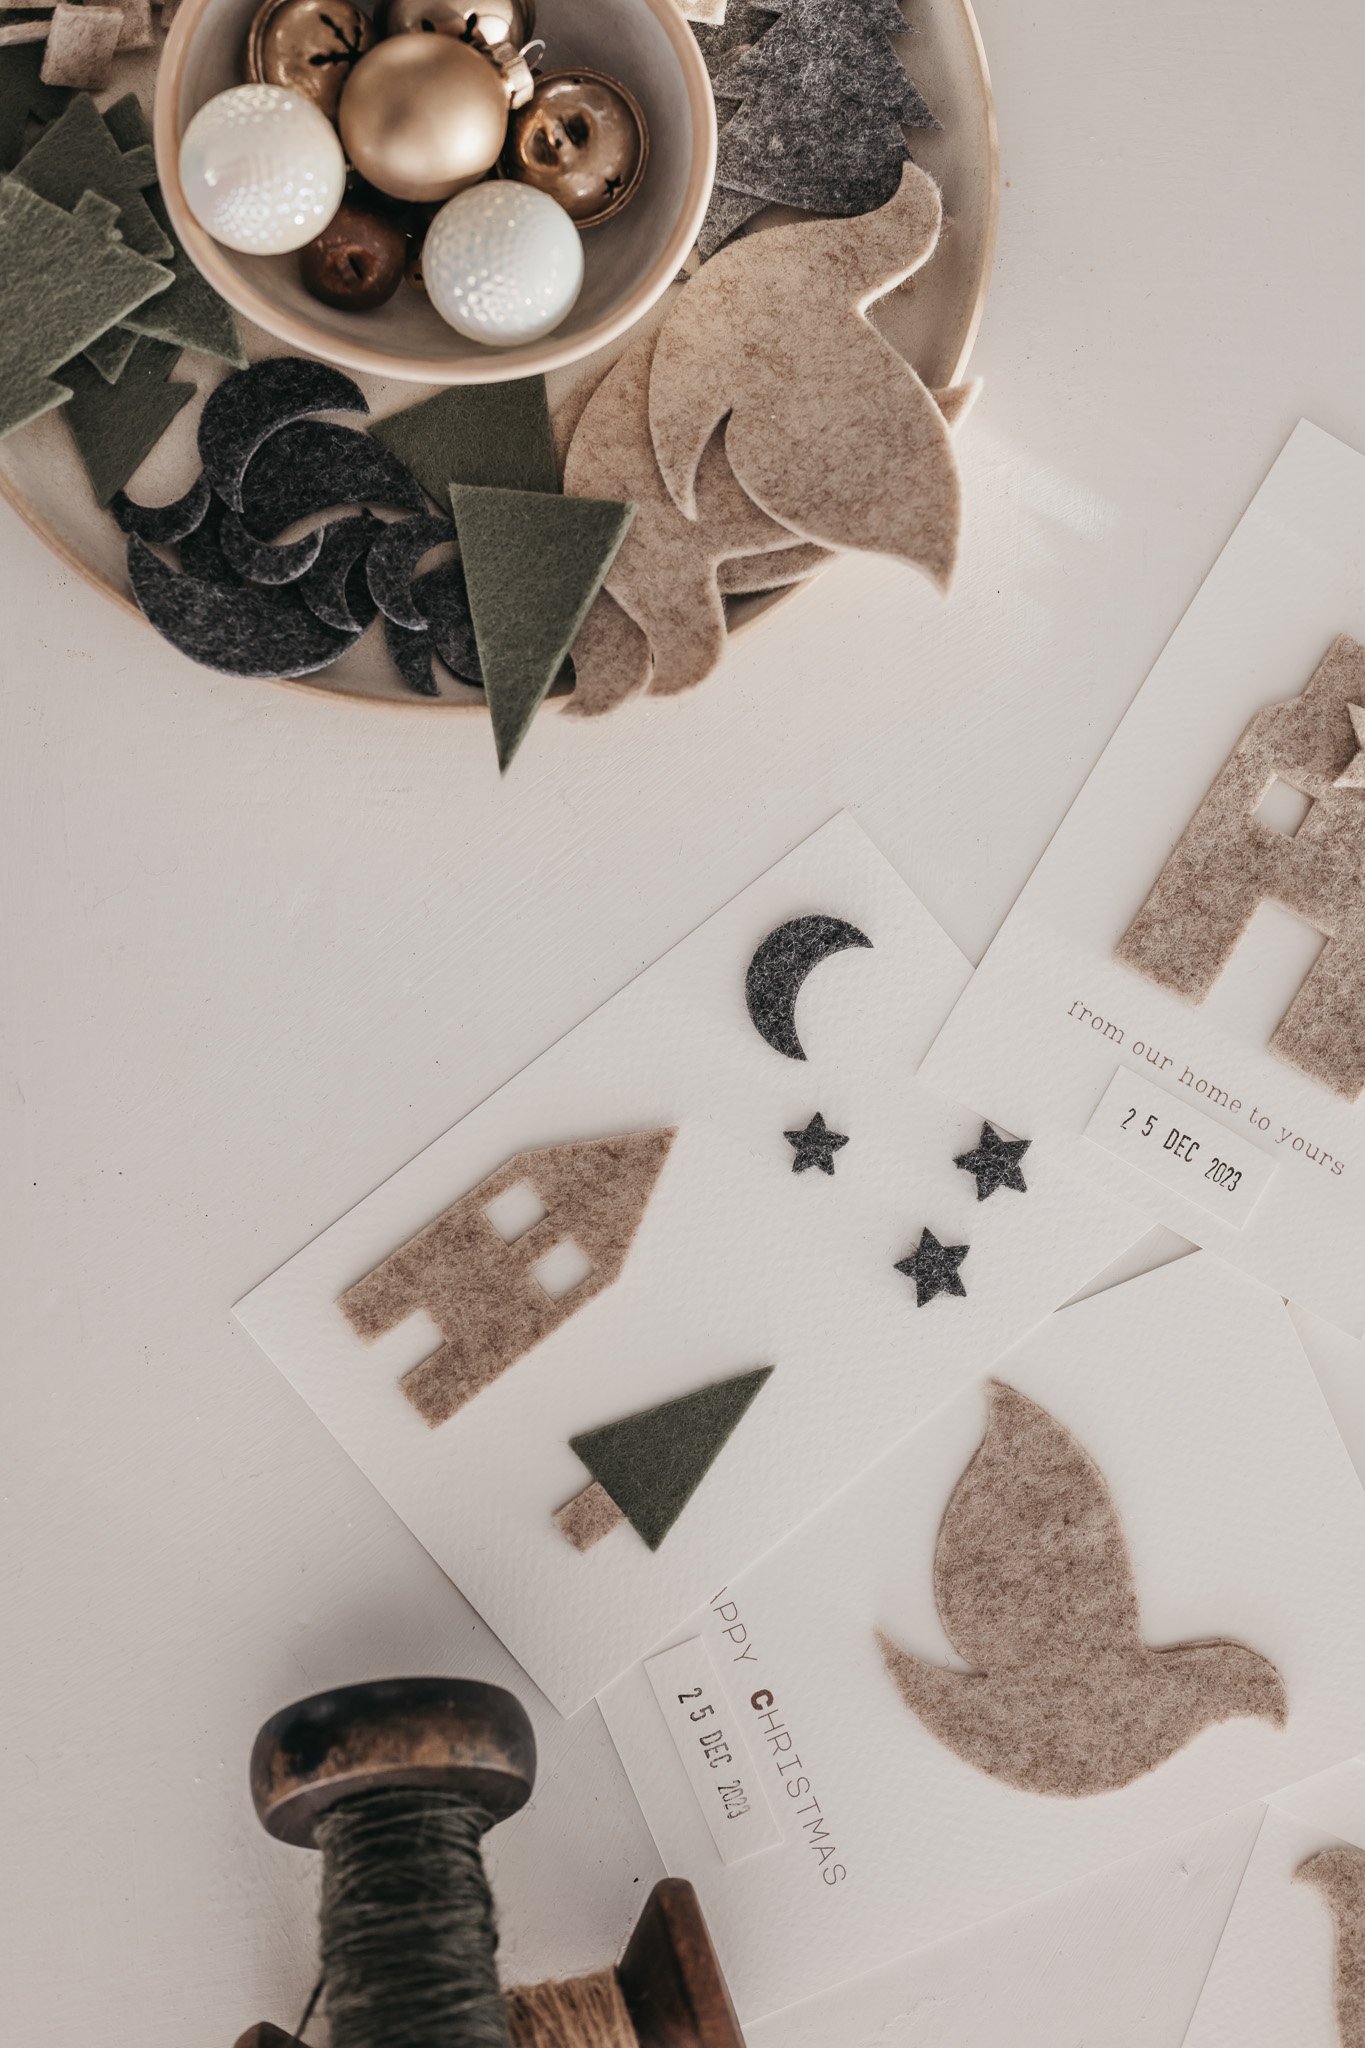
Five: Making Felt Garlands with my Cricut
I've been itching to experiment with cutting felt using my Cricut Maker 3 for the longest time. Today, I finally took the plunge, and oh boy, what fun! It was a breeze and so gratifying.
I opted for craft felt, which appeared a bit on the thin side. So, why not double up the felt using a heat press spray adhesive?
Genius move. With the double-thick felt ready on the mat, the Cricut sprang into action. Honestly, it sliced like a hot knife through butter.
Click HERE for a more detailed post.
Six: Printable Vintage Postcards
A few of my most favorite vintage winter art designs, ready set to print for holiday postcards.
Click here to grab the download.
Seven: Minimalist Holiday Gift Tag Download
CLICK HERE TO GRAB THE DOWNLOAD.
Save This Post
Because I’m going to keep adding my projects to it over the next days and weeks.
More soon.
Over to You
What amazing projects are you working on?
xx
Kim
p.s.
I’ll be back with more.









I’m obsessed with these rustic twig stars.
so simple to make with gathered branches/twigs, hot glue and twine.