From Still Photos to Film in Capcut
A step-by-step video tutorial for turning still photos into a film using CapCut.
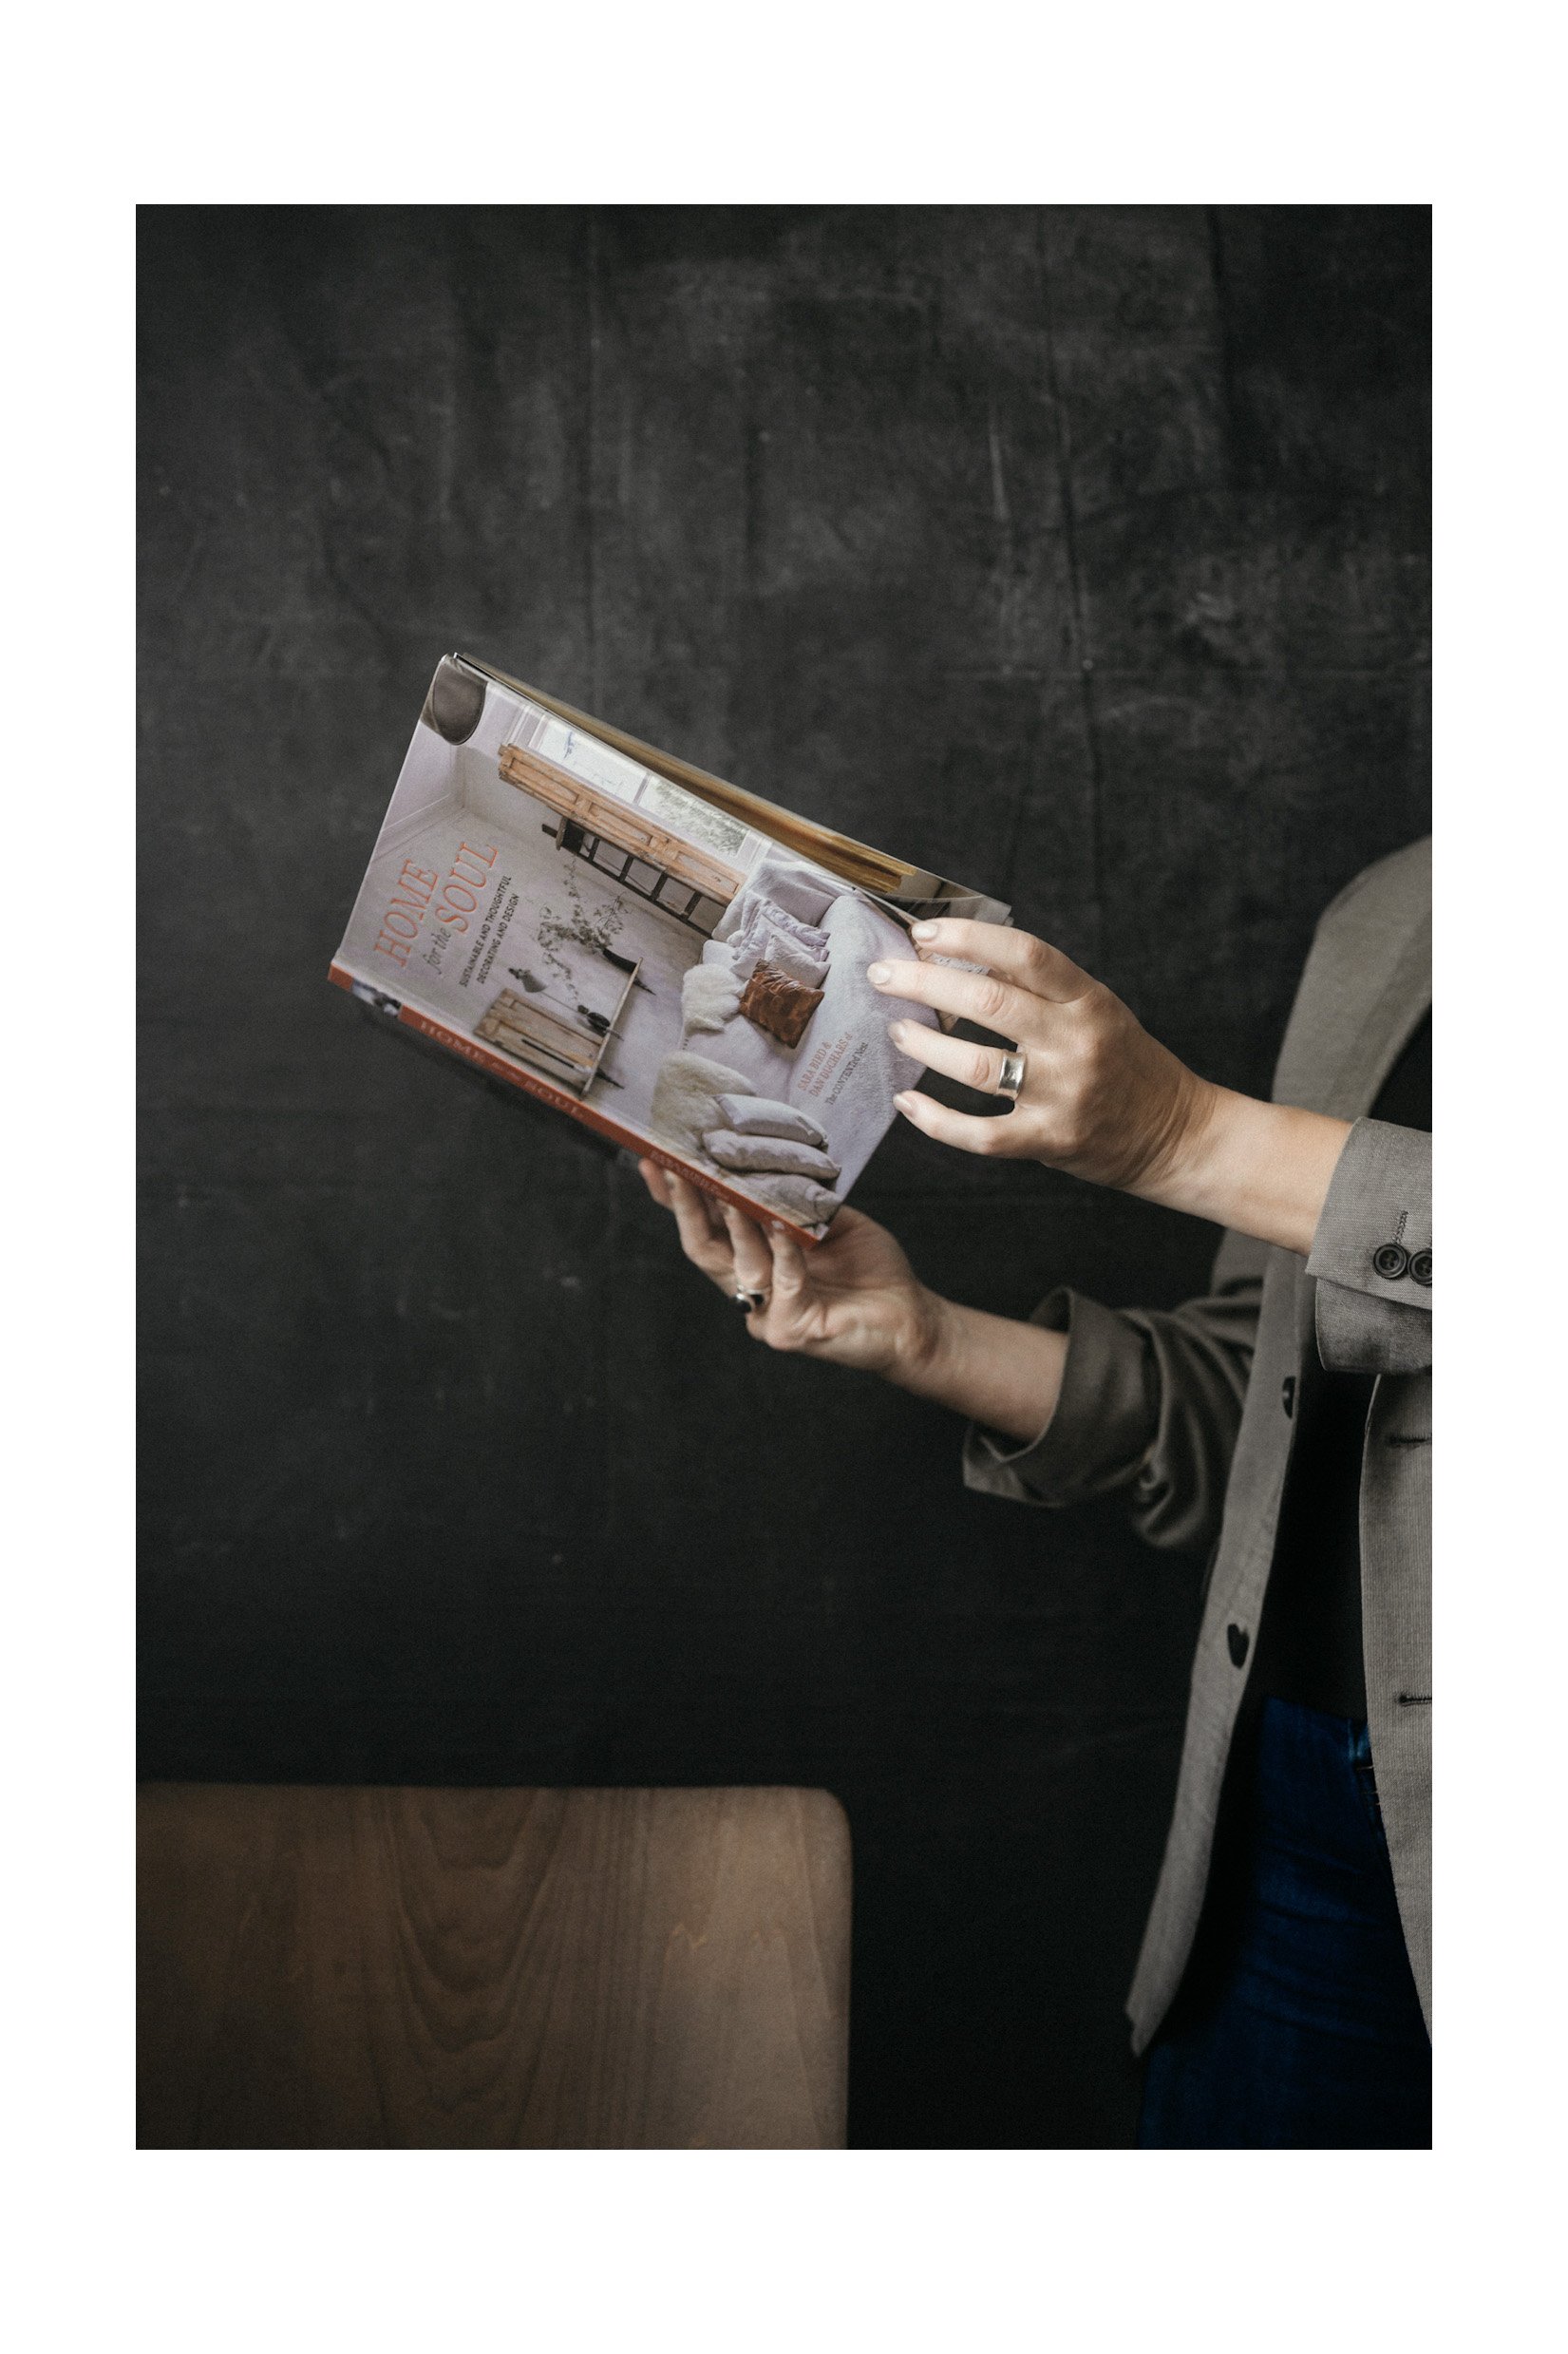
In today’s tutorial, I’ll walk you through a step-by-step tutorial to transforming still photos into a film using CapCut. If you've ever wanted to create a book-flip animation or bring static images to life, CapCut is the perfect tool. It’s quick, intuitive, and even more streamlined than it was just a few months ago.
For this project, I decided to create a book-flip film for Home for the Soul—one of the books in my Beautiful Books Cosmos cluster (a work in progress!).
To capture the photos, I followed a simple process:
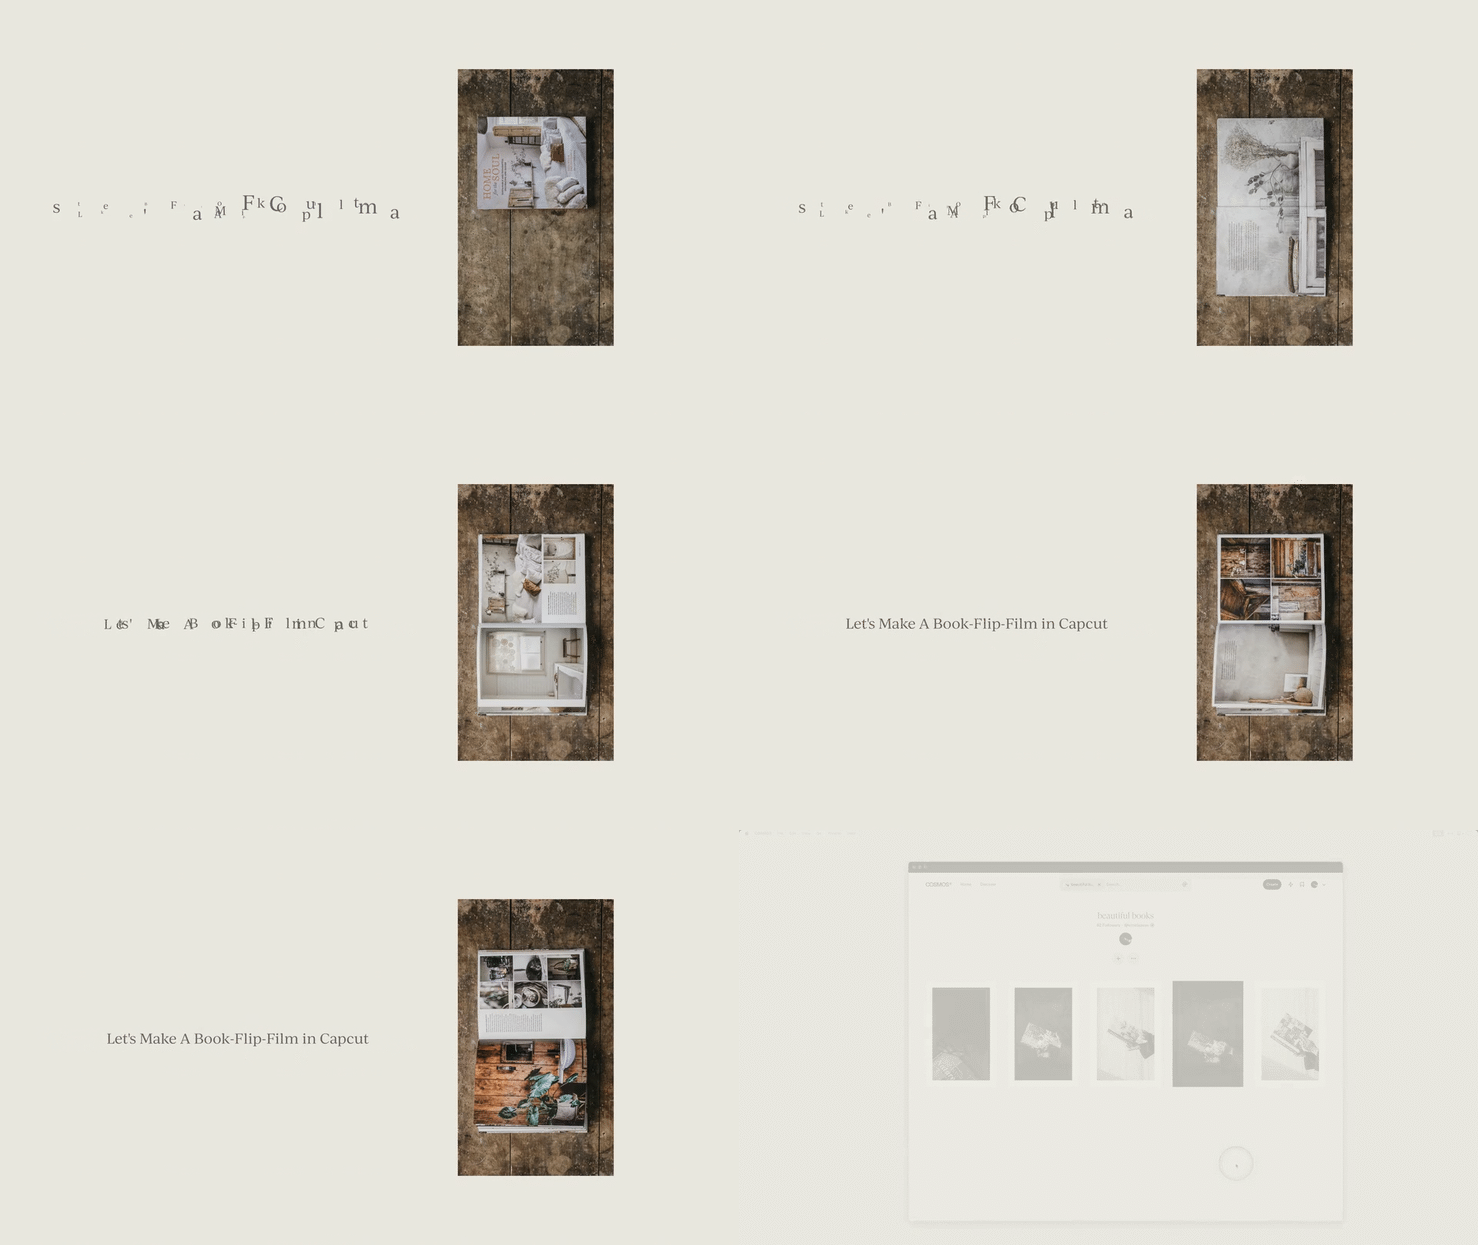
I took one photo, flipped the page, took another photo, flipped the page, and continued like that for several pages (not all the pages).
I kept the camera steady using a c-stand.
I used the Nikon SnapBridge app to take the shots remotely.
Once I had all the photos, I edited in and cropped in Lightroom 9x16 ration.
I used CapCut to turn them into a seamless film.
Below, I’ve recorded the quick steps to make a video like this yourself.
Step-by-Step in Capcut
That’s a Wrap
With just a few easy steps, you can turn still photos into a fun little film with CapCut. Whether it’s a book flip, photo slideshow, fun stop motion, CapCut makes the whole process super simple (and quite fun).
Give it a shot and see how your photos come to life!
And as always, I love know you were here. Say hello in the comments below.
xx
Kim
“The whole point of taking pictures is so that you don’t have to explain things with words.”
You might Also Enjoy:
Things are just things. But some—some feel more like tiny treasures.
A leather journal with the perfect worn spine. Ribbon—earthy shades of brown. Paper, pencils, hand written notes…
The list is long.
This week— a quiet celebration of simple things I love.
A quick peek at how I’m using NotebookLM’s new mind map and discovery features to make sense of my ideas, shape my message, and spark content—all in one quiet, curious space.
AI has powered our creative tools for years—Photoshop, Lightroom, even our camera apps. Now, it’s more hands-on. And while AI isn’t the artist, it can save us so much time.
I’ve tried so many times to love my 35mm. I had one for my D850, bought another when I switched to mirrorless… but no matter what, I always find myself backing up—just so I can keep my beloved 50.
The 35mm is a classic. It’s praised for storytelling and capturing a wider sense of place. But for me? The 50mm just feels right. Maybe you’ve felt this too?
Aesthetic isn’t just about visuals—it’s about rhythm, space, and how words land on the page. The way a sentence feels, where the eye pauses, the balance of bold and soft—these tiny choices shape the reading experience. They aren’t random. They’re intentional.
Have you ever sworn you’d never do something, only to find your perspective shifting? This AI prompt will help you unpack that change in thinking and explore the possibilities that come with it.
If you're constantly juggling possibilities but struggle to bring them to life, this voice to plan workflow is for you. By using the voice note feature in Apple Notes and pairing it with ChatGPT or your favourite ai tool, you can quickly capture, refine, and structure your thoughts into clear, actionable steps. Your step-by-step video tutorial awaits.
A reflection on full-on-ness, procrastination spirals, and the quiet seasons of growth. In this edition, I share thoughts on navigating momentum, embracing imperfection, and making small steps forward—because starting, even late, is still starting. Plus, a February reset, thoughtful links, and a ChatGPT prompt to break the cycle of overthinking.
The Dear 2025 Writing Guide invites you to dream big and envision your year ahead. With prompts and a companion CustomGPT, this free resource helps you reflect, set intentions, and create a vision for an extraordinary 2025.
I put off buying Photoshop for a long time. The cost, the learning curve—it all felt too big. But when I finally did, that single decision changed everything. What started as an overwhelming, slightly terrifying investment led me down an entirely new creative path. Sometimes, the thing we’re resisting the most is the thing that shifts everything. What’s that thing for you?
See how I’ve elevated my Squarespace homepage with thoughtful design elements like subtle animations, textured backgrounds, creative typography, and white space. Get inspired by modern trends and practical tips to create a cohesive, minimalist website.
A step-by-step video tutorial on how to add or update your copyright metadate in Lightroom Classic for a brand new year.
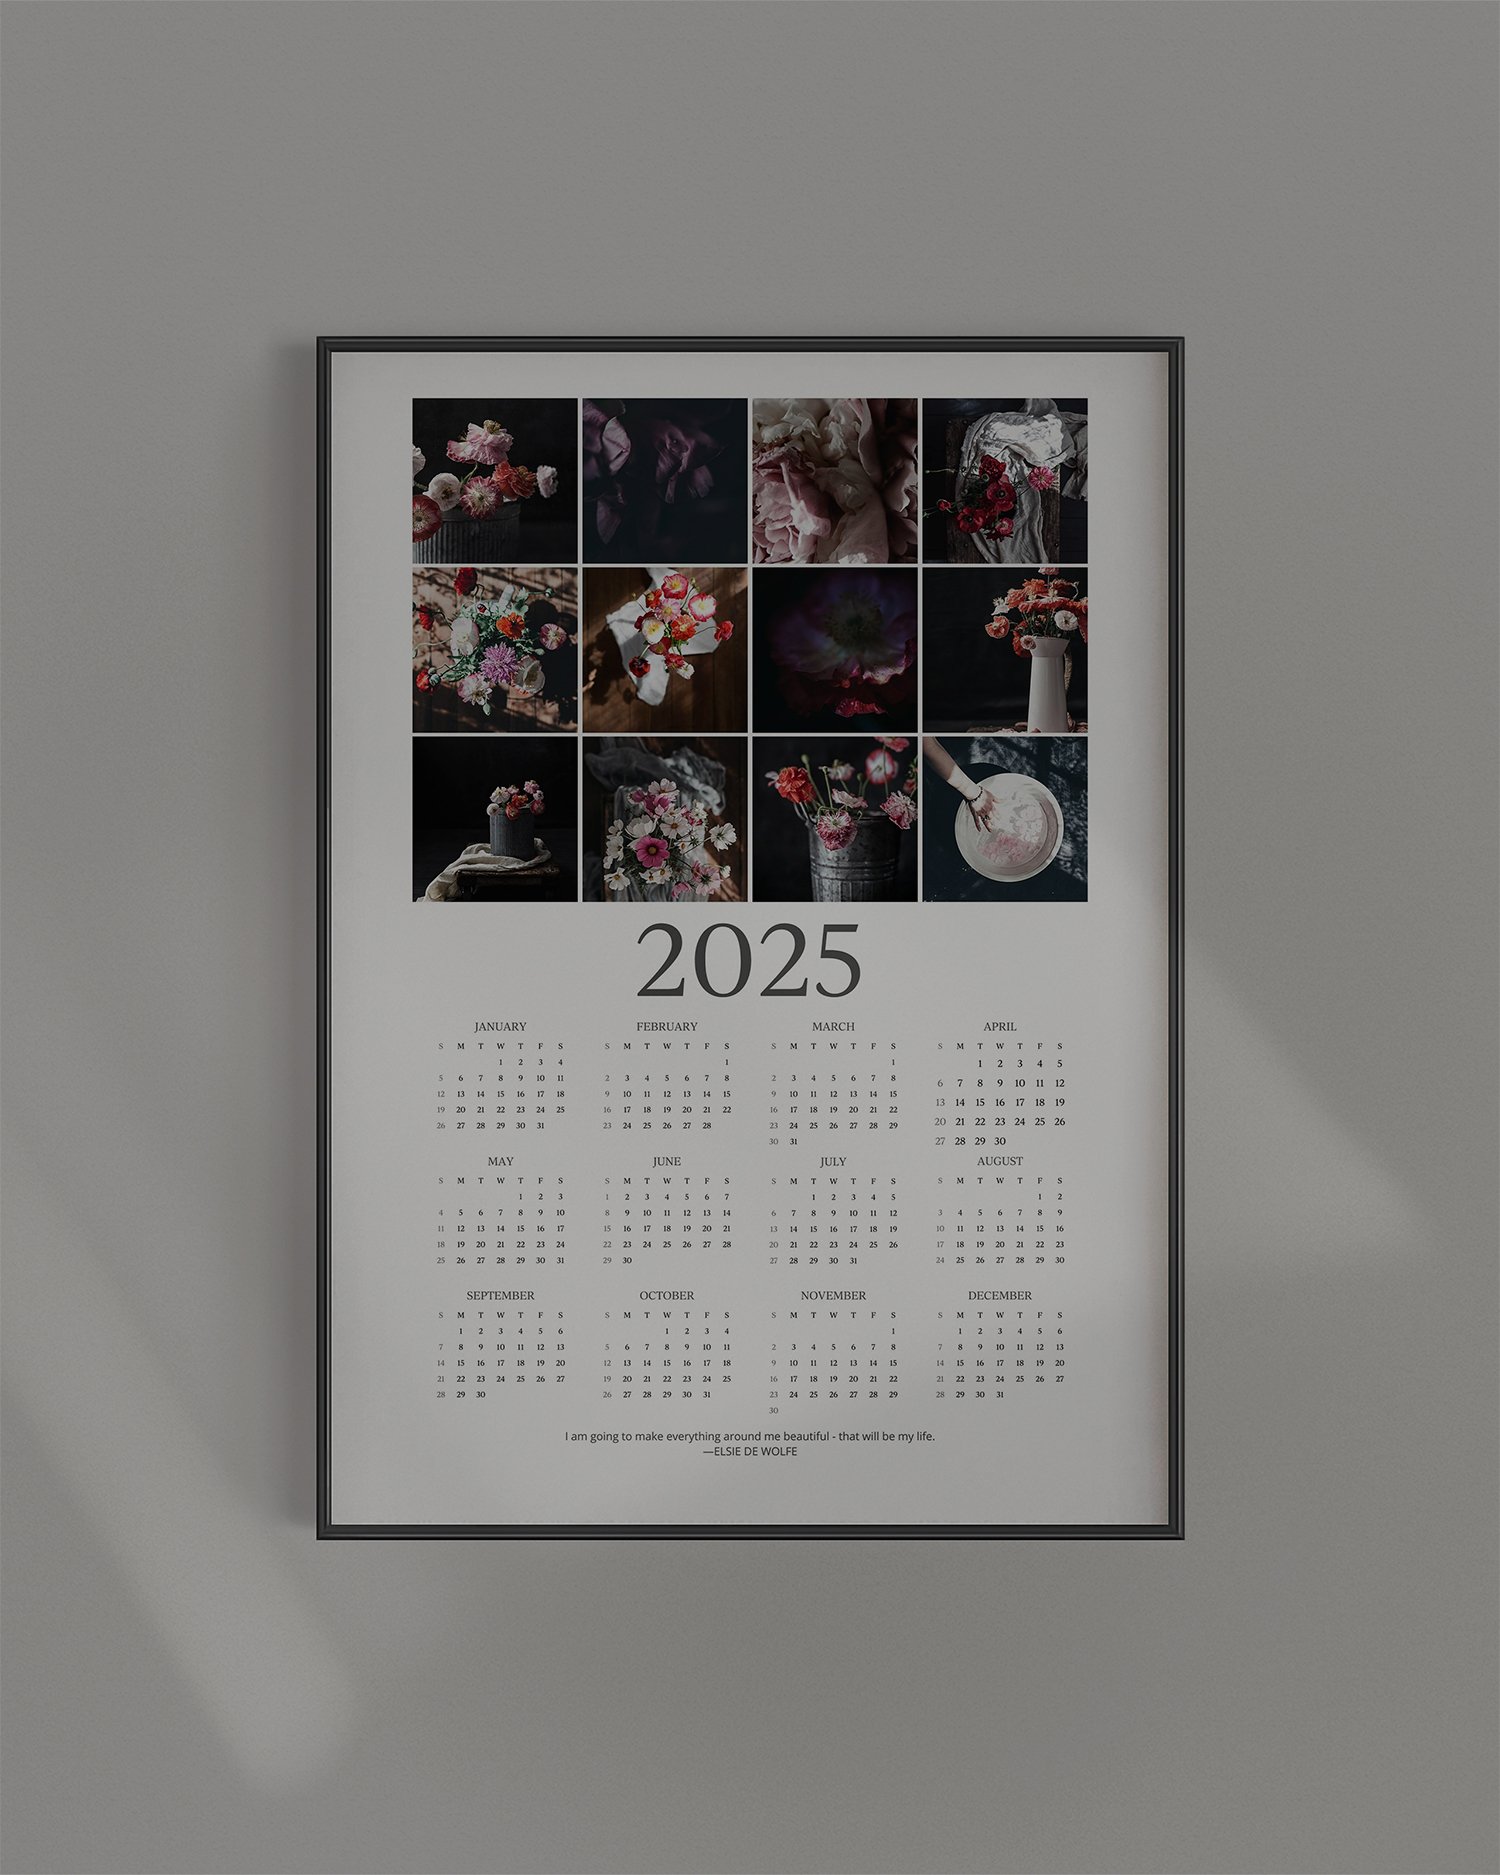
There’s nothing sweeter than seeing our photos in PRINT! Today’s tutorial will walk you through creating a year-on-the-wall calendar using Lightroom Classic Print module and Canva. It's a simple and inexpensive project that results in a lovely finished product, especially when framed.Let’s dive in.
Learn how to effortlessly remove reflections from glass with Photoshop Camera Raw 17.1. A quick step-by-step video tutorial



Learn how to use Lightroom Classic’s print module to create clean diptychs, white borders, and grid layouts—no extra apps needed.